Sunday, 19 July 2015

Scrapabilly July kit shares - part 2

Back to share the rest of my creations using the Scrapabilly July kit featuring Crate Paper Poolside and Journey collections. You can find out more details about the kit either over at the Scrapabilly shop or in my first kit share post here.

Don't forget that the Scrapabilly gallery is full of further inspiration from the other Design Team girls.

Here's the kit - check out all those gorgeous summer colours.


The kit was so inspirational for me and I created a total of 6 layouts and two cards. Success!

I used a Simple Scrapper sketch for this one nd really liked the bold left hand border. Check out those gorgeous blue skies which I think work really well with the sunny colours of the kit. I added in the gold doily, a little gold twine/thread and of course, a splattering of mist.


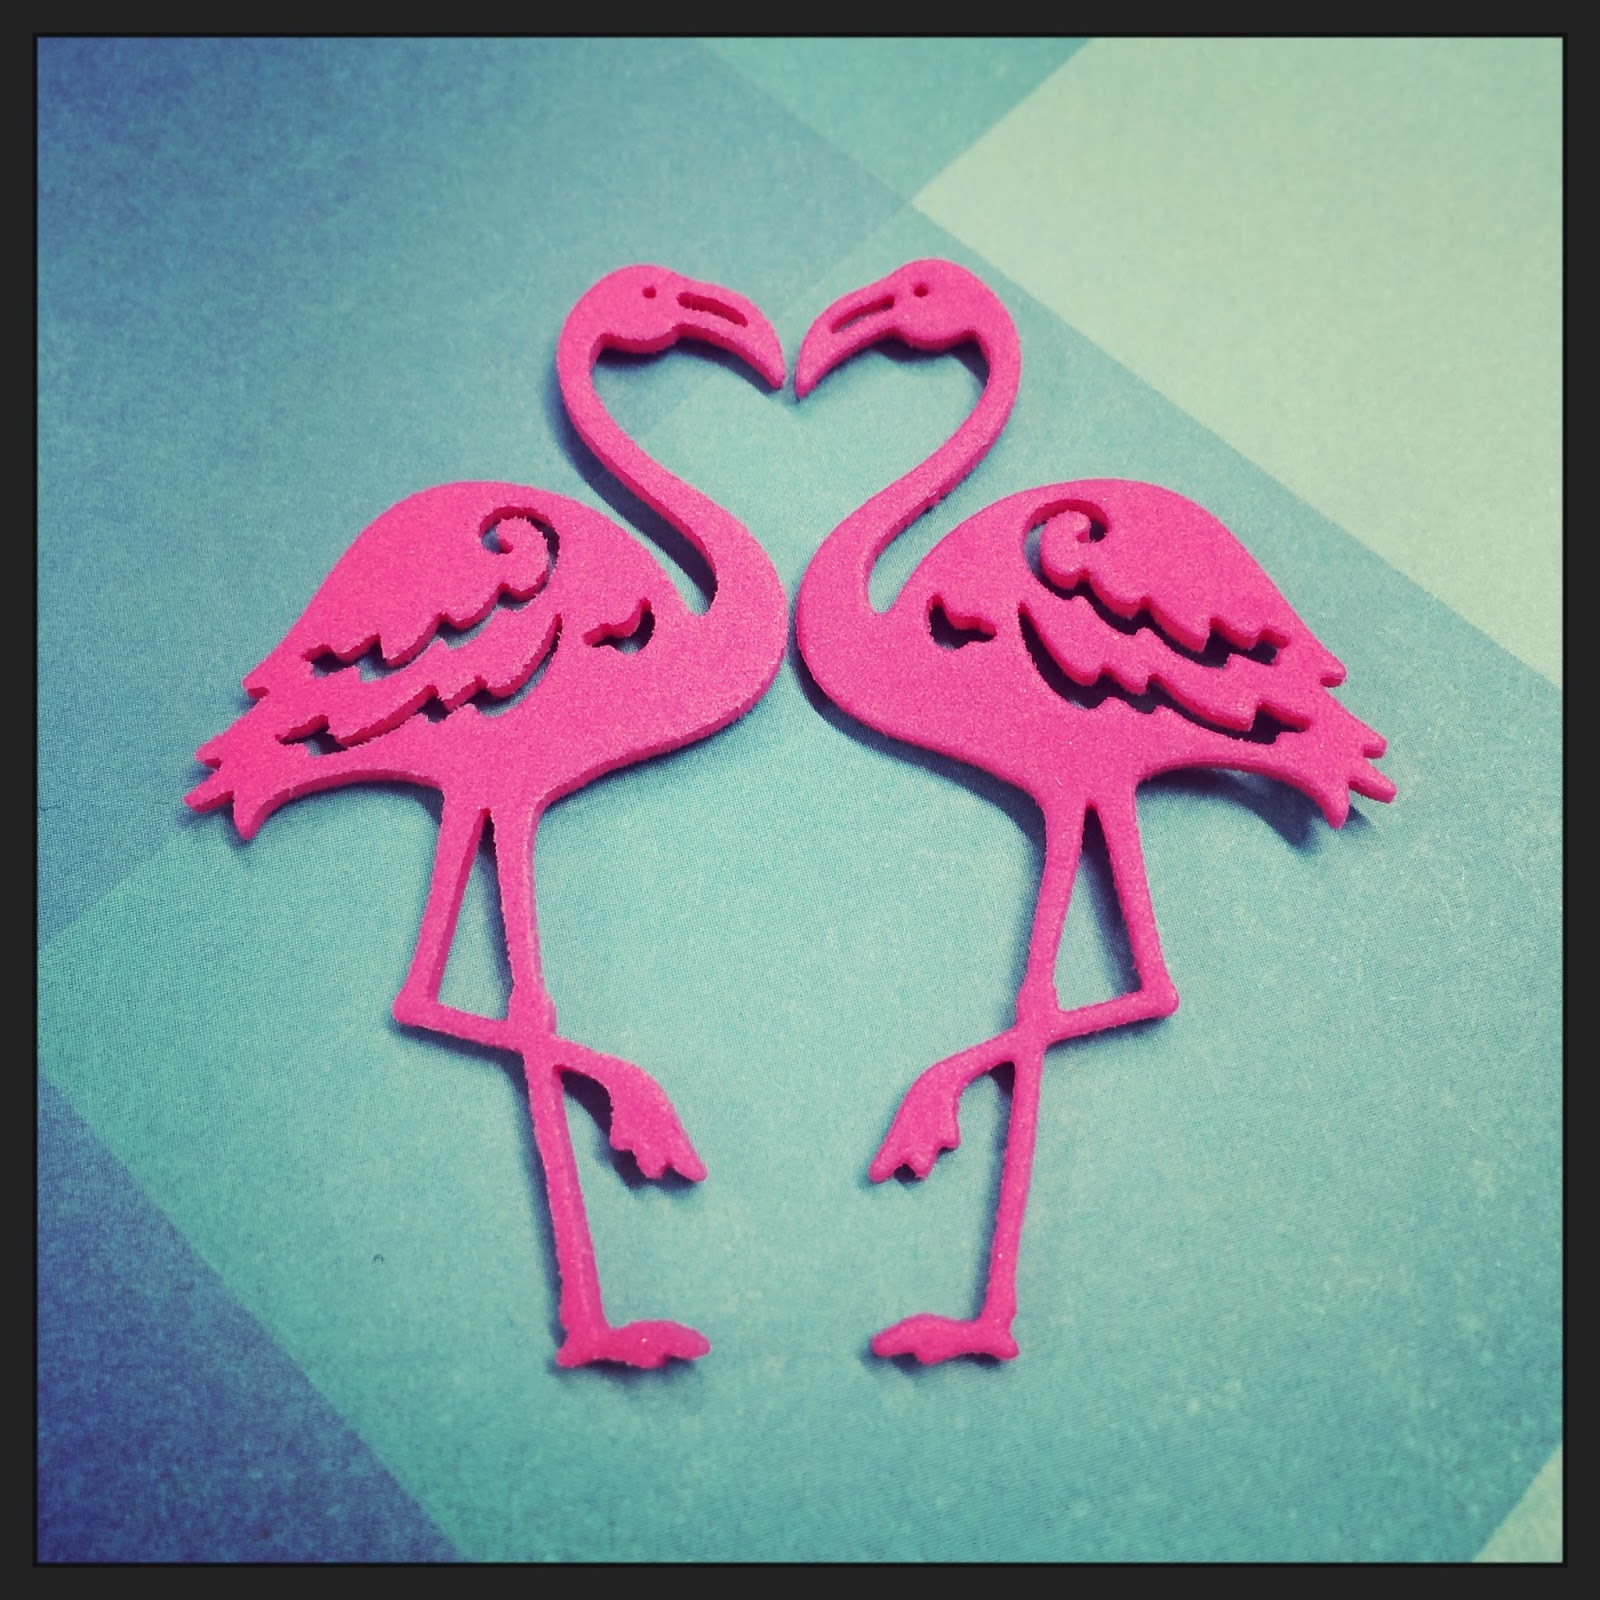
I mentioned in my first share post that we had some fun cutting out flamingos from foam sheets when I was last at the Scrapabilly shop and I was determined to find a way to incorporate them onto my layouts. No, the Philippines do not have flamingos, but they are tropical and pink and fun and I thought I could get away with them here! I especially love that little heart that's created when the two heads meet!

For this one, I added in the flamingos and a handful of enamel dots - and mist of course! I couldn't help myself from using up all the little mini letter tiles on the sticker sheet in the kit! They are so gorgeous and the gold against the aqua goes with every element of the kit. I might need to buy another sheet. Perfect for adding extra titles or journalling substitutes!


And then the last layout seemed a perfect addition on a layout about Scrapabilly's Sylvia and how I'm so happy to have found such a good friend! The *F* for friend card seemed perfect for this too.  The little bag held closed by that mini clothes pin will house my journalling. Leaving all the journaling for a quiet moment which seems elusive at the moment. I only added a few enamel dots and the flamingo to the kit for this layout. The journalling bag came with the kit and housed the embellishments. Love finding a way to use them.


And just to finish off some of the scraps, I made up two summer greetings cards. I sprinkled Stickle spots over the lover edge and finished them off with a couple of left over die cuts and the Scrapabilly exclusive flair - which I can never get enough of!


So, another month, another gorgeous inspiring kit! Such fun.

Why not get one of your own from the Scrapabilly online shop here?

Saturday, 18 July 2015

Scrapabilly July kit shares - part 1

It's time to share my layouts (and 2 cards) made using the Scrapabilly July kit which is based around the Crate Paper Poolside and Journey collections.

Loads of paper (I managed 6 layouts and 2 cards, of which 3 layouts used paper as a background), collection stickers, matching die-cuts, a set of Thickers, mini-clothes pins, a Scrapabilly exclusive flair, twine, a bottle of Stickles and of course a selection of cardstock all added up to a fabulous mix of summer colours full of sunshine and inspiration.

There were all my favourite elements in here - sunny colours including lashings of pink and aqua; shiny gold and glitter; gorgeous alphas and some amazing paper designs.


Let me show you three of the layouts today and then the rest of the kit over the weekend. And don't forget you can get your own kit here and see what the rest of the Design Team made with their kit in the Scrapabilly gallery here.

I'm going to share the 3 layouts where I loved the paper so much that I decided that I just had to use it as a full background sheet.

This geometric ombre effect was first up and I just couldn't bear to cut it up at all - there were so many lovely small labels on the back but I could only bring myself to trim off a small border round the edge. I then cut out the same colours from the chevron design and contrasted it with some of the red and gold elements in the kit to create a nice mix. The diving lady paper was so cool that I completely made up this layout before going off to find a suitable photo that could be used. Not that I think that the photos must go with the papers. That's not really my style. But I wanted to draw attention to the cute diver so this photo of my sweet niece P waiting - probably impatiently - for her swimming session to start.

For this layout, I added in a gold doily but everything else is from the kit.


Next up was the pool water paper that also screamed to be used complete. So I listened to that inner voice and build my layout on the top.

Using the word paper, I decided to make one corner concentrate on hot and hot colours - this was the first time I went on such a sun holiday in high temperatures - and then the opposite corner represents the cool swimming pool water which I enjoyed so much.

As is the case for most of us who have photos from the 70s, they are imperfect with odd colours, faults down the edge of the print and hardly any suitable photos to show the story I want to tell. But there's the pool and there's my granddad who is the main character in my, yet to be written, journalling which is enough of a connection for me! Again, I held off writing the journalling because I want to really think about how to portray the feelings I want to record on each of those layouts.


And last but certainly not least, this map paper just needed to be used as one because it features London. How could I choose which tiny bit of that should be cut out? And it just so happened to show the corner of The Mall just opposite Buckingham Palace which reminded me of a photo I remembered from years before when I'd been there and the Queen had driven past. I think the Queen was on my mind a lot because she's been here in Germany at the same time. I need to add an arrow to highlight exactly where we were standing when she drove by.

I think I need more sheets of this paper...


That's it for now, but keep your eyes open for part 2. And just to remind you - you can get your own Scrapabilly kit here and check out the Design Team Gallery here.

Wednesday, 15 July 2015

15 loves {July 2015}

Welcome to the next in the series {15 loves} for 2015 based on the original concept by my beloved friend, Pam, back in January 2013. I shared my loves (mostly late) all through 2013 & 2014 and now it's time to see if I can continue the series through 2015. I hope you will come back each month to see if there is anything in my list to inspire you. You can see all my {13 loves} {here}, my {14 loves} {here} and now all my {15 loves} {here}

I hope there's something in here to inspire you or maybe just make you smile.


one

Ever one to follow all the trends, I rather love these trendy flamingos on this layout - tempted to lift this completely!
two

Everyone who knows me, knows that I love pretty shoes. And pink. And bows. Think these tick all the boxes. Originally from J. Crew and now not available but I can dream!

three

I hung pictures! Prints from my home town and even my home back there along with some special places, a happy quote and a look back in time. Making our home piece by piece.


four

I loved the Scrapabilly Atlas (Pink Paislee) based kit and made six great layouts. But this one is just amazing and I'd love it give it a go with the Silhouette.

Gina Lideros for Pink Paislee here

five

I think I need to make these. Sometimes I just crave corn fritters and I have no idea why! These look particularly delicious!

I pinned these some time ago and think it would make an amazing present for someone sometime. Or maybe just to me. I love such personalised ideas.

Brevity Jewelry here

seven

Yes, another map based layout but I just can't help myself.


I know I should be bringing more colour into my life (as Pam would say!) but this caught my eye and I'd love to achieve this kind of look. So calm. So stylish.

nine

A few weeks ago at Scrapabilly, we had a lot of fun die-cutting these cute, on-trend flamingos from foam. I managed to use three on my July kit pages and I'm so tempted with the die. Could I really find enough uses for it?

Cottage Cutz at Scrapabilly.de

ten

Just because...

Pinterest find here

eleven

I travelled back to the UK last weekend to spend a few days in London. I met up with a very dear scrappy friend and even spent a day with my baby brother. What a treat! 

We had a Fortnum & Mason afternoon tea at The View from the Shard and this was honestly our view from our picnic table on the 72nd floor. I couldn't have hoped for better!


twelve


We stopped by the Palace in the hope that Queen Liz would be in for a cuppa only to find her not at home. :-( But this place is always a highlight for me and I think it was very special for my friend from the US.


thirteen

Oh my, I was in heaven! I never thought I'd manage to get to this exhibition and was so excited to get there at last. It was fabulous and he really IS the King!

Elvis at the O2

fourteen


I also managed to fit in this exhibition which was amazing and another one I never thought I'd make it to. I dragged said baby brother along and being the good sport he is, he seemed to enjoy it too. Such a beautiful selection of stunning photos and plenty of information. Amazing.

fifteen

I don't get much chance to spend time alone with each of my siblings so this day with my baby brother was such a treat for me. We did some sightseeing too such as The Natural History Museum and caught up on the all goss! All in all, such a fabulous weekend and worth the aching bones and blisters, although I was happy to sleep in my own bed last night!

I’d love you to share your own {15 loves} lists with me. Why not link up in the comments below?

Saturday, 4 July 2015

Forgeries on the Fourth


Back again with a really super simple Forgery on the Fourth today.

In the original kit, there was a sheet of paper with printed frames all over it with glossy accents on each of the frames.

For the original kit, I cut them out and used most of them while creating those layouts so I wanted to find a way to replicate them for my Counterfeit Kit Challenge July kit, Redux (see here).

I found a leftover die-cut shape featuring a frame (from the original Scrapabilly kit) and decided to try out my forgery


I took my small bottle of Glossy Accents and literally filled in the frame in a solid layer of glue. It took a few minutes and some patience to go up to each of the edges.


Then I had to put it to one side and wait for some hours for it all to dry. This photo shows it still wet and there is a little warping. This almost completely vanished by the time it was dry.


Here you can see it all dried. Obviously, I wasn't as careful as I could have been with the edges and I think my Glossy Accents was a little thick (too old maybe?) so there were a few tiny bubbles in the dried glue, but I think that the overall effect is great and when it's included on a page with other elements, these imperfections won't be obvious at all.

I think I read somewhere that you can use a pin or a needle to burst those little bubbles. I'm too lazy for that (!) but if you give that a go and it's successful, let me know!


I think you could get the same effect with clear embossing powder. You'd have to find an embossing pen (do they still make them?) and then do a few layers of clear powder but that would probably work too!

What element will you be forging for your kit?

Wednesday, 1 July 2015

Counterfeit Kit Challenge July kit reveal blog hop

Welcome to this month's Counterfeit Kit Challenge July kit reveal. Hopefully you're here directly from our wonderful Guest Designer, Julie and next up is the ever delightful Lynnette with her creative kit staging - always a thrill! The full hop list is at the end of the post.

I'm even more excited than usual about the Counterfeit Kit Challenge reveal this month. Because? Well, this month, we were given the March Scrapabilly kit as inspiration featuring Kasier Craft Blue Bay papers. How exciting is that?!? I'm SO curious to see what the team create with my friend's awesome kit and am thrilled to be able to feature a little more of my one and only scrapbook store, Scrapabilly :-)

Here's the original kit - remember it? Check out those gorgeous aquas, greens, neutrals and greys. I loved it then and I still love it :-)


And a few detail shots!


Of course, I worked with the original kit back in March (you can see my original posts here and here) so this was a completely different experience than usual for me - interesting!

First up, why don't I show you my July kit - Redux


I didn't really know how to approach this kit because of the fact that it was a kit I'd actually had and worked through. But as luck would have it, as I was decluttering my room and sorting through stuff, I came across a well-loved but VERY old kit from our Bellaboo days when my sister had set up and was running the shop. This particular kit is from November 2008 and when she sold the shop in 2009, I bought a second kit because I loved it SO much! The first kit was pretty much finished and then the second one was broken into with a few layouts but the scraps and leftovers were all kept together because I really loved is SO much! And it struck me that the colours were very similar to the original inspiration Scrapabilly kit. I decided to build the kit around these leftovers.

What do you think? Not bad huh? There are two full sheets and a handful of scraps. By the way, the papers are Autumn Leaves! Anyone remember them? I used to LOVE their stuff. Ah, the good old days :-)


There were also a whole load of full sheets of cardstock in the kit bag so I put those into my kit too. I don't really use coloured cardstock anymore but let's see if I can get creative with using it up or even base a few layouts on the lighter shades.


Then I went though my scraps - in fact I went through ALL my scraps, decluttering along the way - and found a few leftovers from the original Scrapabilly kit and at the same time, pulled out anything which reminded me of the colours of the original. Again, all partial sheets and some scraps really are pretty small. There are some really old ones, such as the BG paper there in the middle, and some very up to date ones too. I really feel this collection of paper epitomises the original papers and works well as the base colours for my kit.


Then I had some of the original kit die cuts and cut apart elements left so I included those too. To fill up my die-cut selection - the original kit had half a full pack - I went through all the small bowls and collection points I had on my desk where I've been throwing in left over trinkets, dies etc and pulled out anything with a similar colour or feel to the original kit or my paper selection. There is a lot here! And one or two which are not quite the colour scheme (such as that pink heart) but that seemed to go with what had already been pulled out. There are elements from Dovecraft, BasicGrey, Crate, Pink Paislee and October Afternoon just to name a few.


I also went though any Cameo cuts I had left over from past kits and included a few here too - that teal glitter really matches the other colours I think.


The original inspiration kit had some twine so I included that and two other pieces of thread that had been in the original Bellaboo kit - not sure if I'll use them or not but the colours are great.


I found a few flair in my kit colours (including a Scrapabilly one in German!) to match the Scrapabilly exclusive flair in the original and instead of a selection of buttons, I've chosen a batch of decorative brads in designs and colours which fit my supplies. Washi tape was thrown in for good measure and because I don't use enough of it! The Scrapabilly kit had a metal arrow included and the original Bo Bunny papers includes a lot of doors and windows, so I interpreted those elements into a metal key embellishment. It's really heavy which is why I haven't used it up to now so I might have to see what to do with it.


So there you have it! A kit that includes elements from a whole range of other kits and which date back as far as 2008 right up to the present day. Now that's what I call a Counterfeit Kit Challenge kit!

What's the oldest element in your kit?

After letting me know you were here, don't forget to continue through the hop with Lynnette up next. And here's the full list in case you get lost. Link up any kits and creations over at the Counterfeit Kit Challenge blog link up page and share the fun of the kitting world!


LinkWithin

Related Posts Plugin for WordPress, Blogger...