Monday, 24 March 2014

March Counterfeit Kit Challenge member blog hop

Welcome to the March Counterfeit Kit Challenge member blog hop. I'm first up today so when you've had a look around, you can hop along to Tina. The full list of hoppers can be found at the end of my post.

I've hit a bit of a lull on the scrapping front and haven't actually managed to make very much since the beginning of the month, meaning my Counterfeit Kit Challenge March kit, Balance, is practically untouched.

But I did manage to pull my mojo out of its rut to come up with a layout for challenge #3 this month over at the Counterfeit  Kit Challenge blog which was "Background Texture"

Now, if I'm honest, I kind of looked around Jennifer's blog a bit too and feel that there's a lot we have in common as far as layers and sparkle and bits and bobs go and so you could also say that this layout is also for challenge #2 which was to be inspired by the wonderful Jennifer herself!

Anyway, this is not a masterpiece and a classic example of where the vision in my head is a long way away from the reality of the result. But it's a done and we will see if I warm up to it.

I started off by adding lots of layers with distressed and inked edges, then I dry brushed some gold mist to the cardstock and papers for a bit of interest. I added veneer, twill, enamels, a canvas frame and some elements cut out of my papers on foam dots.

There's also glitter paper, tissue washi tape and foam glitter letters. Enough texture? I think so!

I thought the neutral based kit would be perfect for the bright colours from Chinese New Year in Singapore but I'm not sure if it really worked... We will see :-)


Next on the blog hop list today is Tina (on her blog here) and here's the full list in case you get lost along the way. Don't forget to let me know you were here and what's your top tip for adding texture?

Wednesday, 19 March 2014

Wednesday Wonderland

I've missed a couple of weeks of Jingle Belles Christmas inspiration but I knew I wanted to get moving again today and ran off two quick and easy cards for the latest prompt, "The Holly and The Ivy".

Now, my holly may be subtle but each card was started by selecting the holly stickers and then the card was designed around it. Honest :-)


I used a Sweet Stop Sketch found on Pinterest (link here)


And for this one I used a Deconstructed Sketch found on Pinterest (link here)


I've downloaded a few Silhouette shapes suitable for this prompt so I will try to make something a little more complex next week - well, that's the plan anyway!

Tuesday, 18 March 2014

Scrapabilly shares part 2

Back again with the remaining three layouts I created with the Scrapabilly March kit which is full of Teresa Collins "Hello, My Name Is..." collection.

Just to remind you of the kit...


And my projects

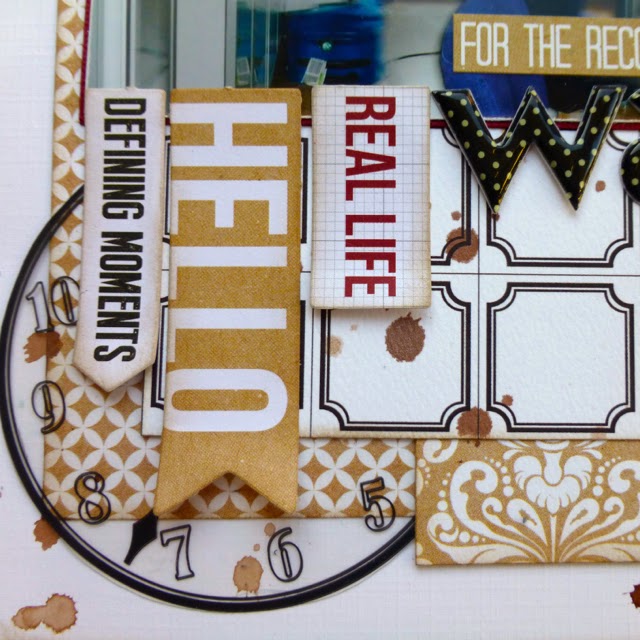
The clock transparencies were perfect for this layout about how we gave Ted the shock in his life with a rather loud wake up call


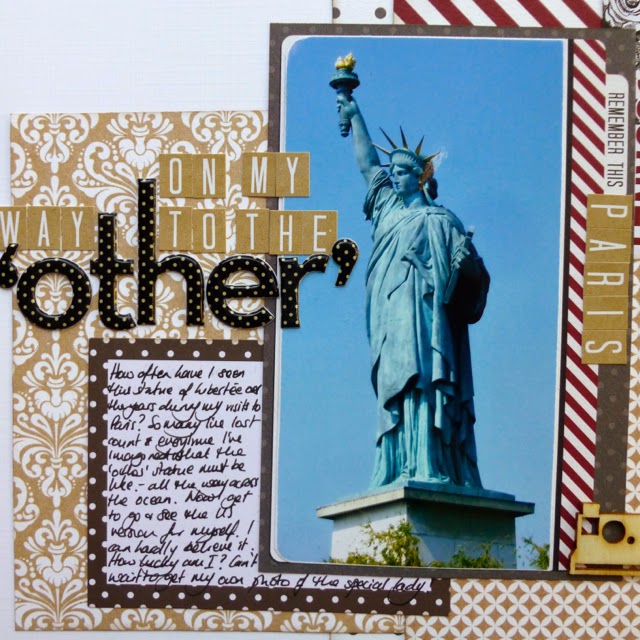
I've now seen the "other" one and I have to say that it was just as beautiful and a lot more impressive but Pam thinks that the Paris lady has a prettier face.


And I have to give you a hint that the kit for next month is already in my hands and it's really gorgeous! Totally different and I can't wait to cut into it. It will go live in the shop later in the month and the gallery should be ready to view at the end of the month so make sure you come back to check out what we've made.

Make sure you spend a few minutes to see what the rest of the Design Team have also done with this gorgeous Teresa Collins kit in the gallery (here) and on their blogs (find them on my sidebar). Charly is Guest Designer this month too and she's made some really lovely layouts so I really recommend grabbing a cup of coffee and settling down to spend some time in the gallery.

Sunday, 16 March 2014

Scrapabilly shares part 1

Another month, another wonderful kit from Scrapabilly even though I'm a bit late posting - I *might* have been a bit busy at the beginning of the month :-)

The kit this time is full of Teresa Collins "Hello, My Name Is..." product and you won't believe it, but I made 6 (yes SIX) layout in one evening.

First off, let me share the kit with you. You can find it in the shop here and of course you can check out all the Design Team creations in the shop gallery here or simply go and visit all the DT blogs (listed in the sidebar).  Definitely worth a visit as we've created some really different projects with the same products which I always find so interesting!


Even though I usually use a lot more embellishments, there was so much in the kit that just went so well together that all I added in were a few veneers, some twine, a small length of twill, a button, two or three sparkly brads, a sprinkle of sequins and a couple of sheets of cardstock. Of course, a few splats of mist were added in to the mix.

Here are my first three layouts.

The pack of die-cuts proved so easy to use and I cut apart the polaroid paper to mount my little photos


I was delighted to find that I could combine the papers to form very distinct colour schemes to match the photos I had sorted out


I think the key to my six layouts in one evening was the fact that I had planned it out with the photos I wanted to use for at least four of the layouts and also the great colour and pattern combinations that proved possible with the papers and matching elements in the kit. I love the variation I get for scrapping with my Counterfeit Kit Challenge kits which are full of products from various manufacturers and lots of older bits and pieces and then the Scrapabilly kits which are focussed on one recently released collection.  This way, I get a bit of both type of scrapping and I have to say that the Scrapabilly kits get made into layouts much more quickly as everything naturally goes together! Seems like I get the best of both worlds!

Another really successful kit for me. Tune in soon for part 2.

LinkWithin

Related Posts Plugin for WordPress, Blogger...