
You might have noticed that there are things that I do on my scrap pages that I repeat over and over and over again. Clustering is one and since I really started to get to grips with all that layering (thanks to BPC classes with Nic H), I hardly do a layout without some sort of cluster or grouping – no matter what the topic.
To help explain my way of doing things, I took some photos of my developing cluster when I was making a layout back in October. At the time, I shared this with my fellow LOADsters but I've been asked if I could post it here again. (The photo quality isn't good as I was scrapping in the evening and the light is really bad but I hope you bear with me.) This is a really long post with lots of photos so apologies for that upfront!
1. I layered up some papers across the middle of the page, inking all the edges to give definition. I realised there would be a perfect cluster spot on the left hand side, under the photos.

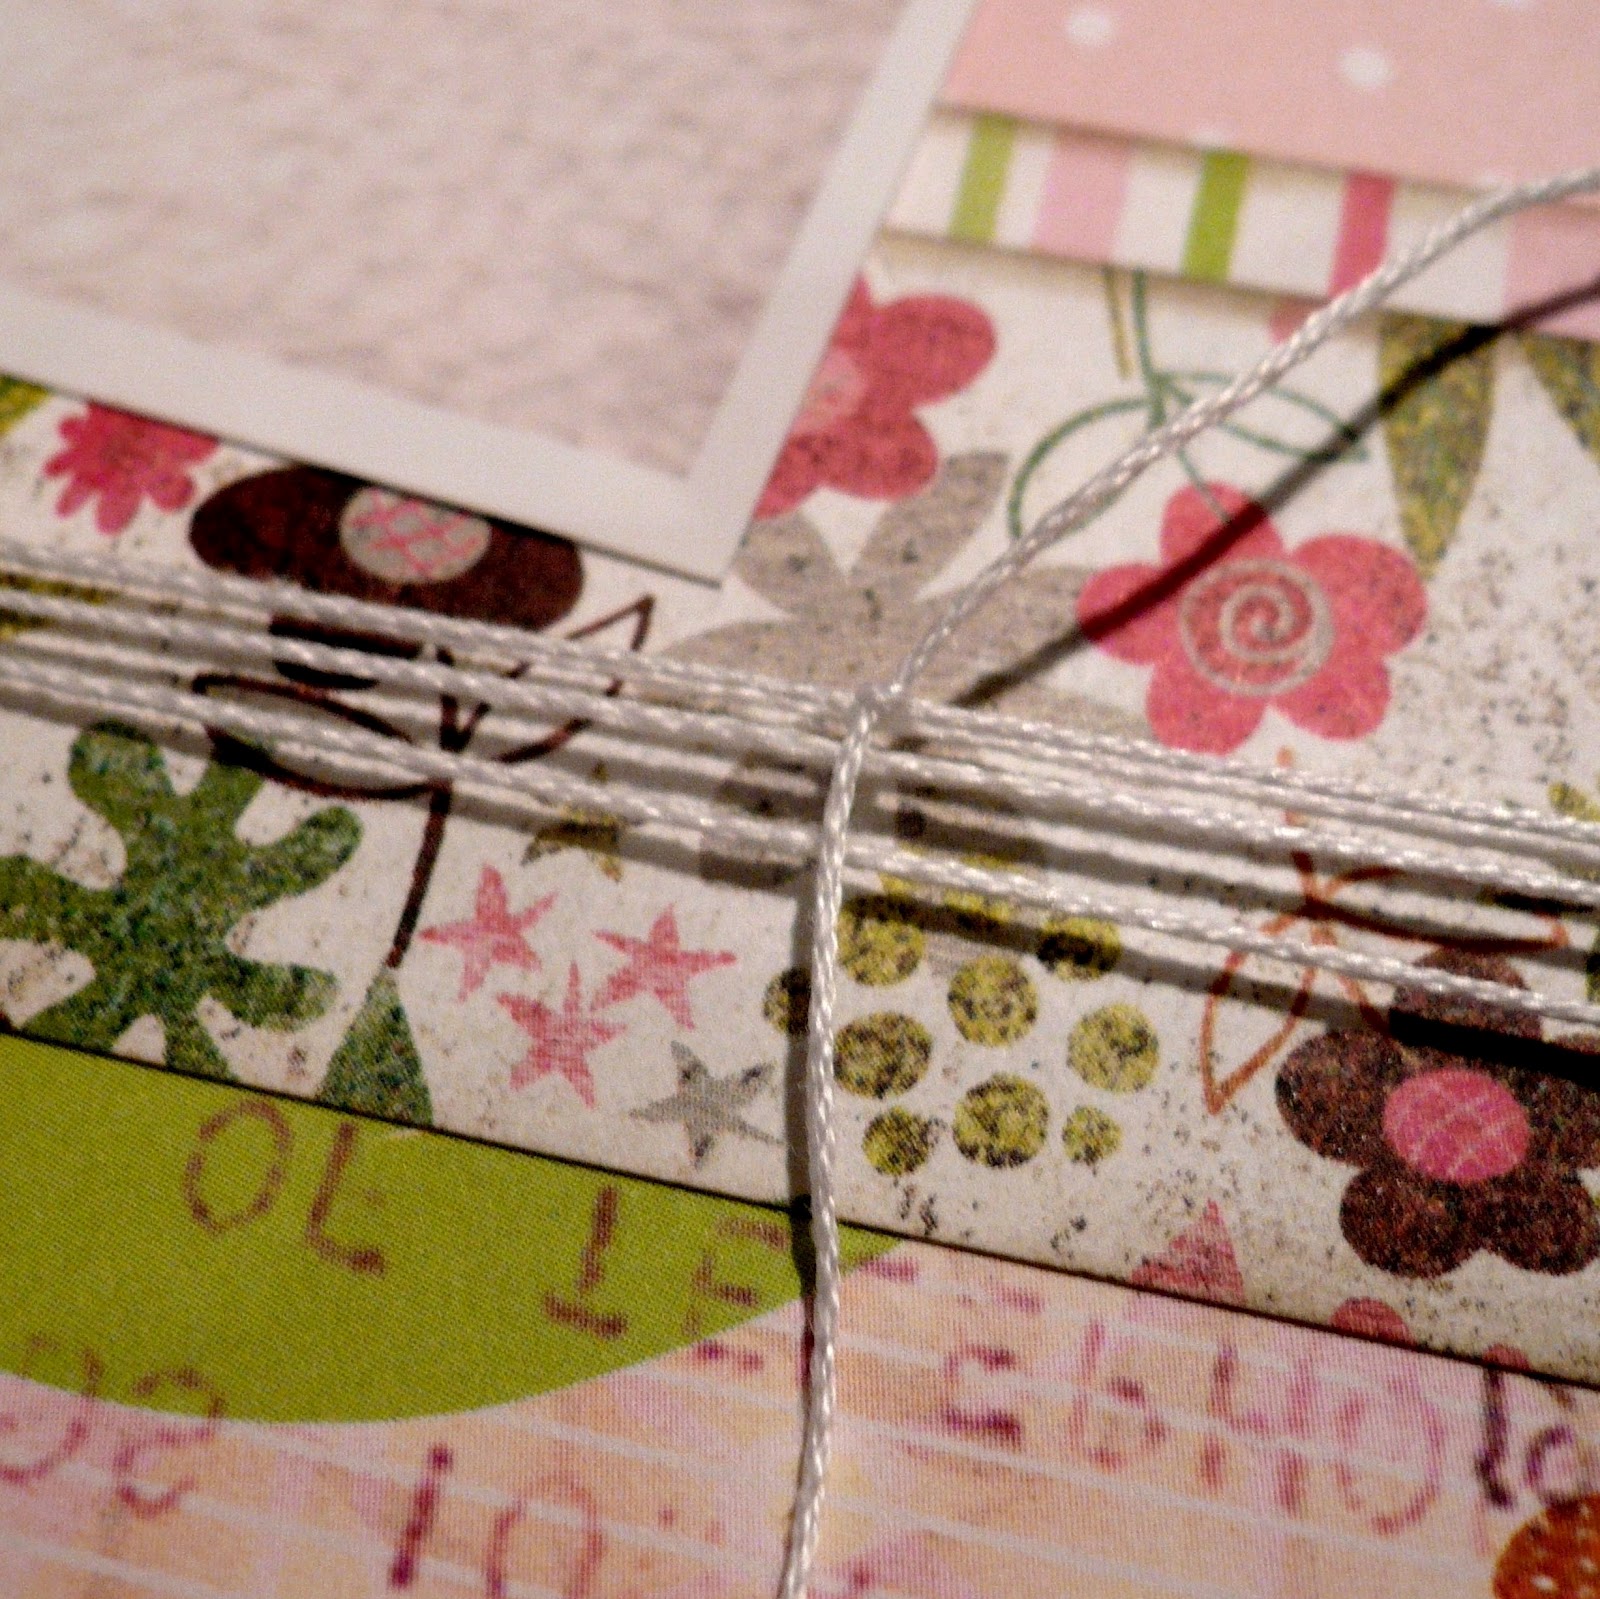
2. Before anything else, I added my twine around the layout and tied it in a simple knot. This way, it will peek out from under the cluster.
3. Then I laid out some fussy cutting that I’d done from the tropical flower print BasicGrey paper as well as some ribbon roses to roughly see how the main elements would work.

4. First down are the flat, larger pieces – directly attached to the background papers.

5. Then come the rest of the flowers raised using foam squares, and in some places, double foam squares (my layouts are very rarely flat LOL). I carefully place all these elements and adjust them before giving them a press to attach them.

6. I attached the ribbon rose strip along the bottom of the photos, bordering the fussy cut flowers. Now I have dimension, texture, contrast. Next up were a couple of word strips just placed to peek out of the flowers. A sparkly button finished off with a bow filled a little empty looking spot.


8. Next up, I also wanted to add one of my “signature” (not sure if this is really so but one or two people have commented on it!) bows to extend the clustering across the page. I cut a small piece of ribbon and a smaller piece of jutte type ribbon (which I actually bought in the Philippines which is the reason I HAD to put it down on this layout.) and then squeezed them together in the middle so that they formed a bow effect. I tied this off first.

9. Then I ran the loose ends of the twine through a button and pulled really tight to gather up that centre point. Another knot and bow to make sure its secure. At this point, I sometimes apply a glue dot or just liquid glue to keep it in place.

10. A swirly rub-on fills in some of the space above my bow.

11. And to finish, I picked out a couple of the colours from my photos with pins stuck under the button.

12. It’s at this stage that I might have a rummage through my embellishments and take a few things out to see if they have a place. Or I might notice a corner which doesn’t look balanced and need something to place there. Or I might decide that I want to enhance one of the elements or colours. I do a lot of button, brad or bling sprinkling too. In the case of this cluster, I left it as it was.

13. As you can see by the completed layout, it takes up quite a lot of the bottom third of my page and I think even for me, that’s probably enough.


So the basic principe remains the same if you are making a small or an extravagant cluster – biggest, flattest pieces first, followed by smaller, more dimensional items, finishing off with the very small buttons or bling or whatever last, on top, peeking out or in the middle. Remember to start small and build up. Don’t be afraid of repurposing/cutting/altering items, fussy cutting or looking in your local haberdashery for suitable items so that you have a lot of possibilities when building your cluster. There is no perfect way to cluster, it’s really just a matter of try it on and see if you like it, then practice until you establish what works for you. So why not find out what your cluster style is and try one today. ;-)
Excellent tutorial - the one thing I haven't tried is your bow technique - so I may well be borrowing that idea!
ReplyDeleteI think your photos are wonderful - they really bring your process alive
ReplyDeleteLovely self-effacing post - nice to know how you work :o)
ReplyDeleteBeautiful work Lisa! Now - if I only had the patience to practice clustering:)
ReplyDelete