Showing posts with label mini kit. Show all posts

Monday, 6 March 2023

March 2023 - Counterfeit Kit Challenge Mini kit reveal and project

I find it hard to believe that this is the first time I've put anyone on the blog since the middle of January, but there you have it! Busy times - which is mostly a good thing ;-) 

Anyway, I'm back today with a post about the Counterfeit Kit Challenge mini-kit which I signed up for this month.

MF Anna picked out this kit for us to inspire us - "Time to Thrive" by Traci Reed which had a very distinct look with the embellishments and colour scheme. I was pretty unsure which way to take it.

I thought about making a mini-album but after a less than successful LOAD in February (I only managed 11 layouts in total), I decided to make another page kit from my huge Mabel kit and tell another of my "28 Days of Mabel" stories. I'm still planning on getting the full 28 Days of Mabel done as soon as I can - just a goal for myself.

Looking at the original kit, I decided to go with the yellow, blue, green colour scheme with a red/pink heart paper which could be useful and matches the inspiration. I also decided that the floral embellishments, labels, twine bows and banners were good things to include and I liked the idea of hearts, florals, stars, leaves and dots so made sure my papers or embellishments highlighted those parts of the inspiration as well. I brought together some papers (all of which are partial sheets), some tags left over from last month's mini, alphas, some floral die-cuts and a handful of dies to make some extra embellishments if needed. My "Mabel kit" is full of peach, lemon, pinks and soft pastels so it was interesting to sort through and find some items which didn't exactly fit that colour scheme and was pleased with the resulting kit. It looks bigger than it really is! I might squeeze out two pages but this was really only designed for the one layout - let's see.

Here are my papers. I thought the smaller designs would make this page come together more easily and the tags seemed to have colours that complemented the papers - more or less! The spot paper reminded me of the watercolour effect of the striped paper in the original kit. I've added it in but am unsure how I will be using it.


I also included some of the dies that I've been repeatedly using on my Mabel pages recently. They may or may not prove useful but these small shapes are perfect for tucking in under corners or creating dimensional interest here and there.

One of my strategies recently is to fully prepare pages ahead of time so when I sit to create, everything I need is there and all the decisions have been made. I even write and print out the journalling whenever I can. This page was put together in the same was so I also added in a Simple Scrapper membership sketch, some photos I wanted to use and the story I wanted to tell before I considered my page-kit to be complete. The story I wanted to tell featured Mabel's friend - a black Labrador - so I felt that this stronger colour scheme would work well and still fit into my album of mostly softer shades.

The Simple Scrapper sketch is 8.5x11" so I adapted it for my 12x12 preference and the two photos I had picked out. The bottom photo - where they are cuddling - is almost identical to one I had printed out to tell another story about how they cuddle up. I had been irritated to realise how similar they were and that I couldn't use them both on one page so I was determined to find a way to include it in another story and by adding in the photo of Luna nudging Mabel to initiate play, the idea for the story came together.

I tried to stay guided by the sketch and I think the little line of tags is super cute and the addition of some leaves and flowers, as well as keeping those stronger shades to smaller proportions, keeps the layouts looking sweet and girly! They are both gorgeous "little" girls after all!

28 Days of Mabel #12


Even though it's definitely different to the other Mabel pages I've made recently, I think it will fit into the album nicely and it was a great exercise to pull out papers and colours from a very full-on, baby pink themed larger kit to match the inspiration kit! This layout tells a very important friendship story for Mabel's album and it makes me happy! It's great to be challenged to think outside of the box of your normal scrappy go-to's. Why not give it a try!

You can see the other mini kits over on the blog here and then be part of the Counterfeit Kit Challenge FB community here.

Friday, 6 January 2023

January 2023 - Counterfeit Kit Challenge mini kit and project

It"s crazy that it's already January but I'm just going to jump right in and get going with a new year of blogging and scrapbooking and sharing snippets of my creative life - hoping to improve, as always. So let"s get going.

Over on the Counterfeit Kit Challenge today, we are highlighting mini-kits we made with the kit inspiration I picked out for us this month. 

Here is the inspiration kit from the Hip Kit Club

Hip Kit Club December 2022 Main Kit

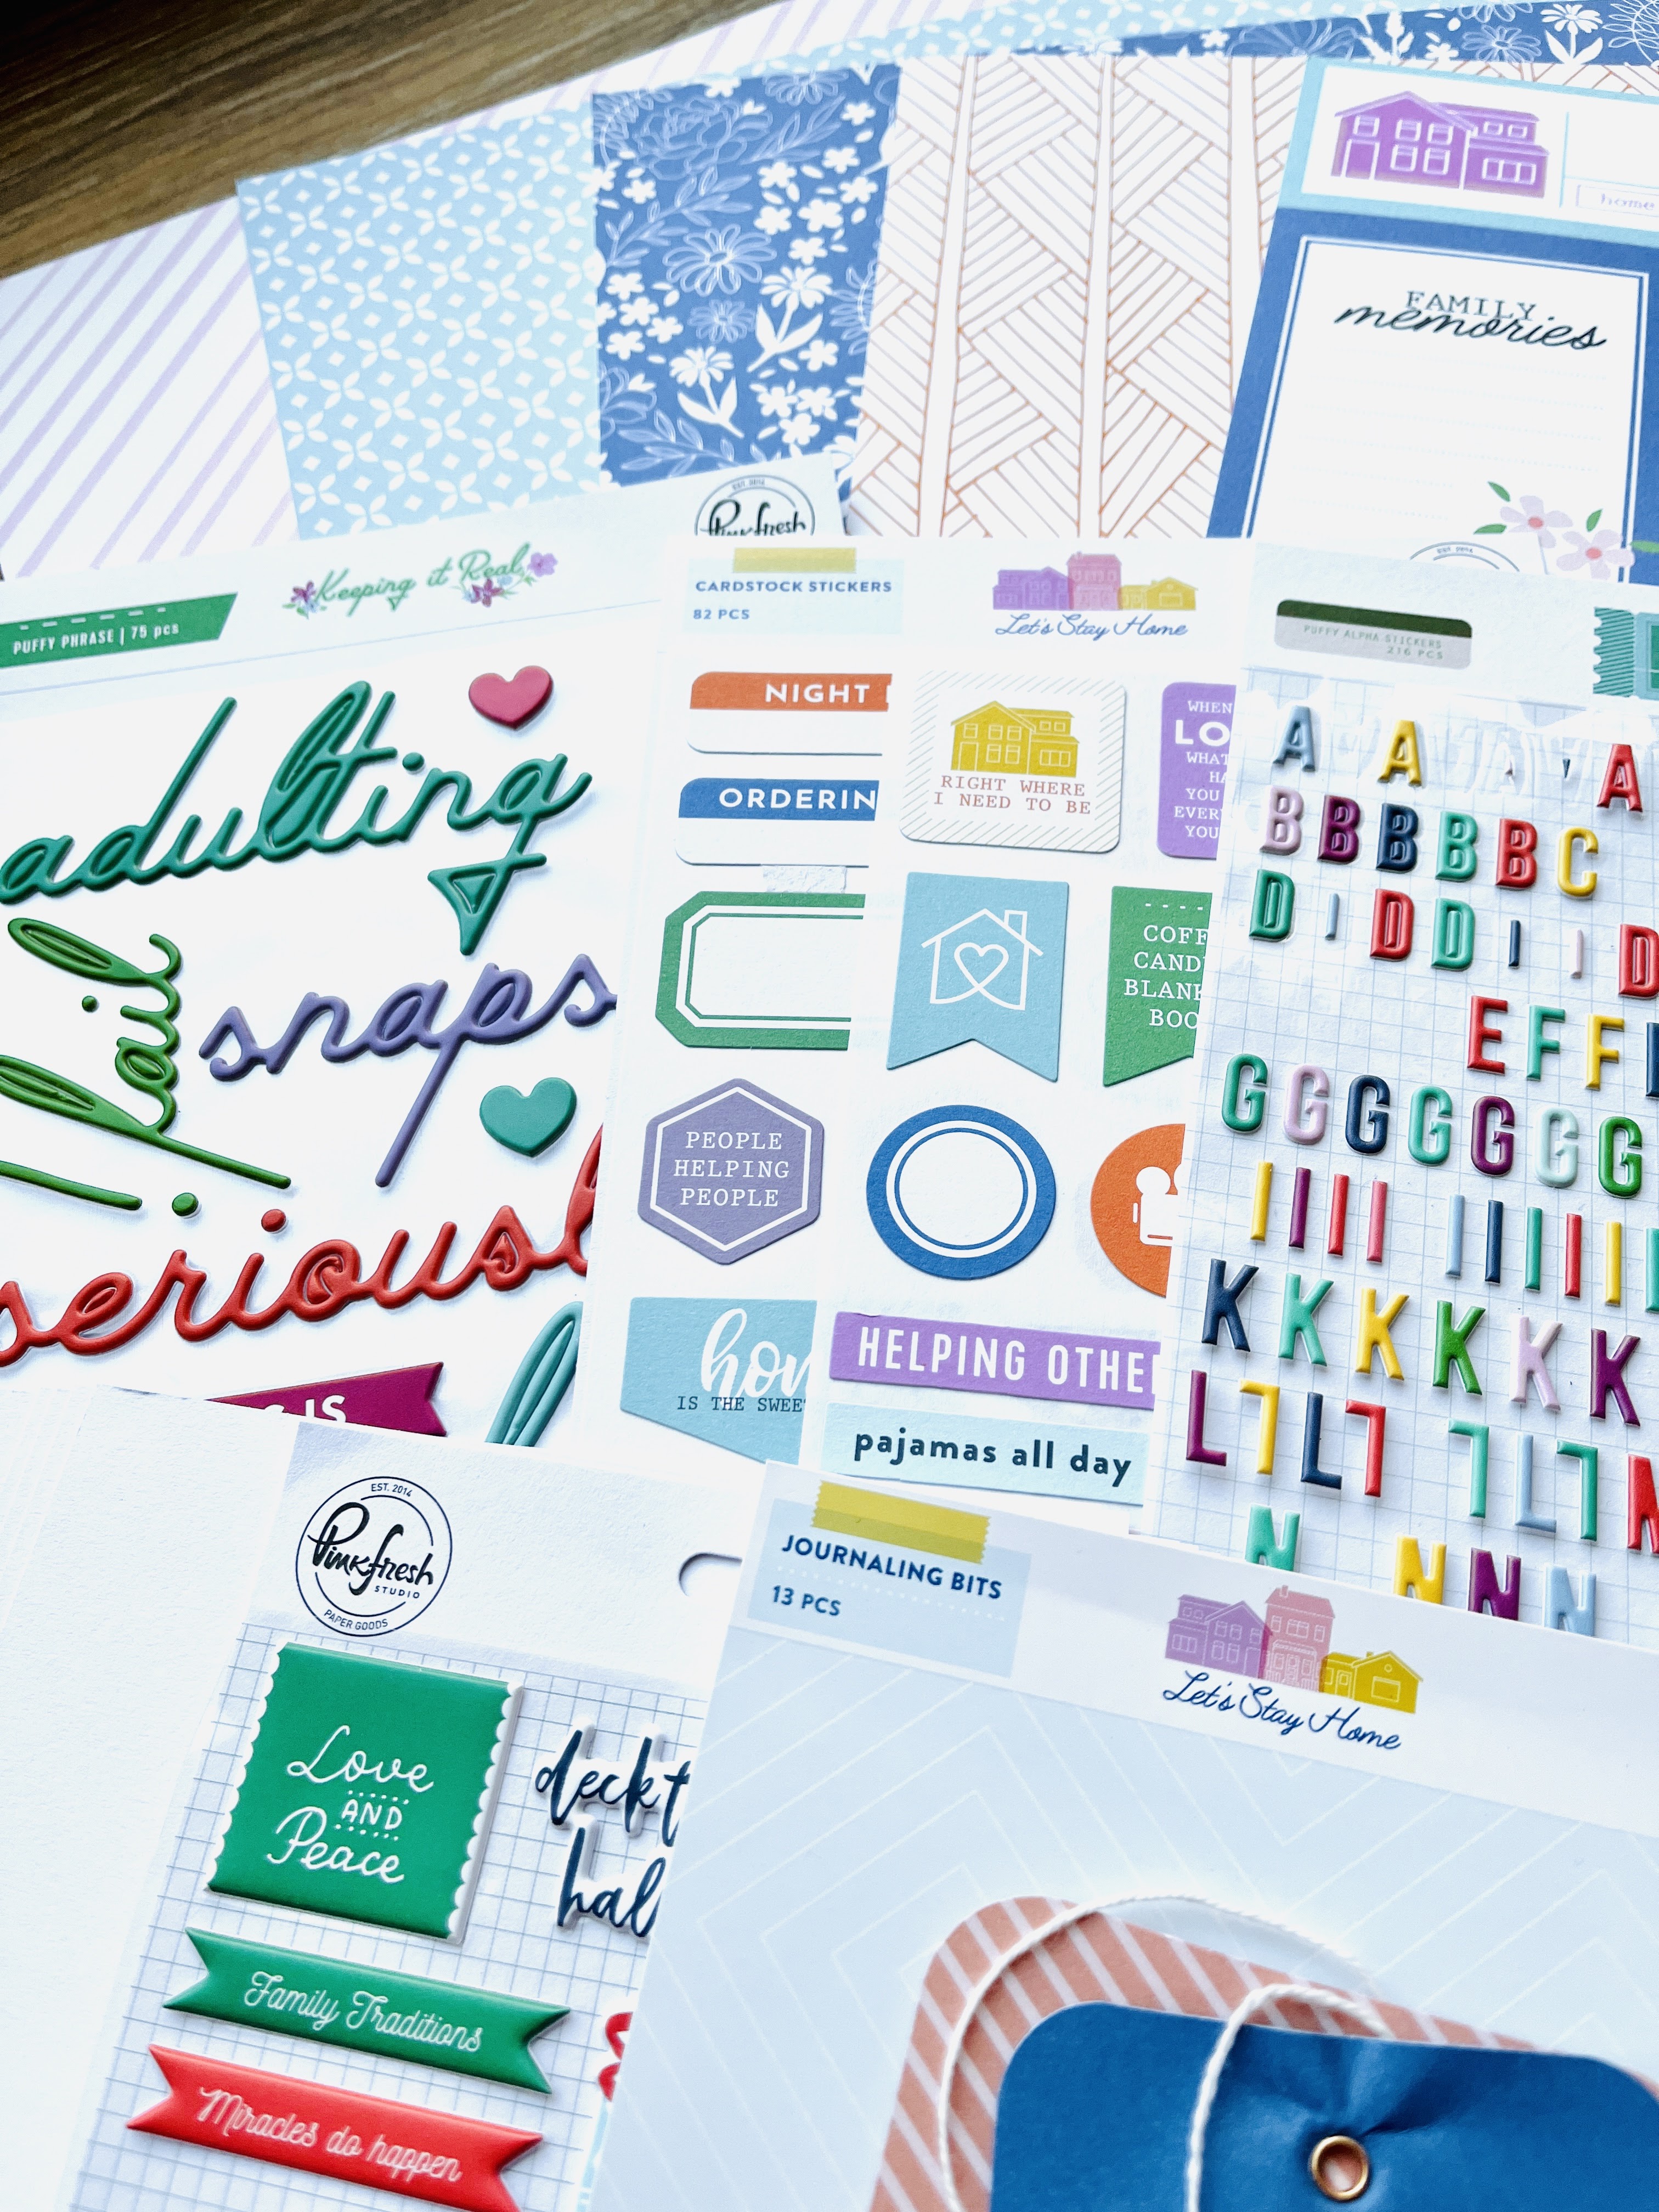
There was something about the kit that reminded me of Pinkfresh Studio and I decided to raid my Pinkfresh supplies to come up with a small kit to make some cards while I am out on the road on a short new year holiday. 

A few sheets of paper and a bunch of embellishments and my kit came together really quickly - which is great as I was under time pressure to pack my supplies in a matter in a very short time 😉 (long story for another time maybe).

I thought the papers and cut apart sheet would be perfect for layering, backgrounds and front elements and then I could just dip into all the die-cuts, stickers and other elements as I needed.

Unfortunately, all the photos have that winter blue daylight tone to them even though I "warmed" them up in editing so the kit appears much more blue and lilac that in real life. In reality, there is plenty of soft pinks in there 😉


Then I got happy with the cards - aiming for 6 cards for different or neutral occasions - mission accomplished.


I always aim for quick and easy cards and my designs tend to be very similar but that's ok as they will all be going to different people for different reasons.

Foam squares, layers and some of the puffy elements as well as the addition of a little twine here and there gave the cards texture and dimension to add interest to my simple designs.


Mixing and matching collections and embellishments means I have a set of cards which are similar but different if you know what I mean! Several of the floral die cuts were halved to tuck under elements top and bottom or left and right - that can really help you stretch your supplies! And adding puffy stickers here and there just added a touch of different. Don't forget to get happy with that twine - such an easy, inexpensive way to add something interactive.


January is only just beginning over at the Counterfeit Kit Challenge and there is plenty more going on round there:

  • 12th & 18th January: Challenges #1 & #2 - to inspire you to get creating from your own kit 
  • 24th January: Follower Showcase - who has caught our eye this month 
  • 31st January: Killing Kits - an idea or two for using up the bits & pieces left in your kit box 


You KNOW that we always love to see your work, so please share your kits and projects with us. You can post them in our Facebook Community, or share them on Instagram (we are @counterfeitkitchallenge or tag us using #counterfeitkitchallenge and #ckcjanuary2023). 

 Thanks so much for stopping by! We can't wait to see your kits and projects this month.

Sunday, 6 October 2019

Counterfeit Kit Challenge - September mini-kit reveal and project

Good Morning and welcome to the first blog post of October. Glad to see you here. 

For the Counterfeit Kit Challenge October 2019 kit, here's a reminder of the Studio Calico July 2012 "Summer of '69" kit that Laura picked out for us. 

Look at all that lovely "vintage" product and super colours. 

So 2012... more of that later. 


I loved all the papers here and decided to look into my scraps box to pull my mini-kit together. At this stage, I was unsure if I was making up a kit for cards or a layout but I knew that I need enough paper to manage either. I spotted the Studio Calico banner patterned page (you can see it better in the second photo below). It seems to bring together everything that the original kit had to offer and so I started with that single piece of paper to build the rest of the kit.

Here's Throwback


Here you can see the full mix of old papers that I pulled out of my box. All the sheets are only partial and it looks bigger than it is. I think it includes Authentique, Dear Lizzy, Crate Paper, Studio Calico, October Afternoon and Cosmo Cricket - there might even be some BasicGrey in there but I'm not sure. I love it!


I fished out a bag of October Afternoon goodies that would be good to use up and a selection of small flowers and buttons which I haven't used on my pages for ages! The grey ribbon really took me back and I know I'm going to enjoy finding ways to use up these items.


Two alphas and an unopened October Afternoon pack of flags and banner items - I can see these being useful on cards.


And of course, some doilies to match the original kit.


Lots of lovely pieces to bring a little nostalgia onto my page.


Once I had my kit, it was time to decide what to make with it and in the end, I decided to make a page. I didn't have any cream cardstock so I went with my palest kraft and seem to have produced a page which looks exactly like pages I made in 2012 - so it's all full circle on the throwback! This was not exactly my intention but I love the result nonetheless.

I even matched it up with some original, orange-toned, vintage, 1970s photos and this time, I even used the original prints and haven't scanned and edited them to take out any of the tint.


I used to do this with buttons all the time in the past so it was nice to remind myself of how much I like the look of it!


And flowers! When was the last time I added any onto my page? I think I tend to avoid so much dimension today because I've seen what a difference it makes to my albums :-)


And a handful of precious October Afternoon alphas - *sigh* - which I added into my kit when I realised that I'd be making a full page layout.


You can see Susan's gorgeous mini-kit and layout over at the Counterfeit Kit Challenge blog here and don't forget that there's always loads of inspiration over there on the blog throughout the month. You can also find out where and how to connect with us - the blog is always the starting point for all the information.

Thanks for dropping by, don't forget to say hello!

Monday, 6 May 2019

May 2019 - Counterfeit Kit Challenge mini card kit

It's been quite a busy time round here and the CKC blog with the Counterfeit Kit Challenge reveal on 1st, the Just the Gist post on the 2nd, Forgery on the Third on the ... well... 3rd, and then of course, {inter}National Scrapbook Day on the 4th.

There was a lot of activity both on the blog/s and behind the scenes to get it all ready so I was happy that I'd decided to go for a mini-kit this month - a couple of hours and the cards were done and ready to be sent out, even with all the stitching and detail I added.

First off, let's remind ourselves of the inspiration kit - the March 2019 My Creative Scrapbooks main kit:

My Creative Scrapbooks March Main Kit

I loved how summery this kit was with all the travel works, the flowers, the happy aspects. It has pineapples and flamingos and tropical flowers and all of that reminded me of the Simple Stories papers in the "Hello Summer" collection for which I had some of the papers and also the die-cuts.

So that's where I started for my "Greetings!" card kit.


I picked out cut apart sheet featuring a rather gorgeous flamingo which I knew I would use on a card and then added in the stripe and the spots of which matched up patterns in the original kit. I then included the die cut pack matching the collection as well as a few die cuts that I had featuring little girls and some unicorns - all reminding me of the inspiration kit.


I included a stamp set that has yet to be christened as well as a sheet of phrase stickers from another Simple Stories collection and I thought both of these could be useful for card titles.


A few sheets of mini-stickers rounded off this mini-collection.


I then spent a couple of hours and from these three sheets of paper, came up with 7 cards. I still have some scraps so I might make up some more but for now, I'm happy!


I deliberately found ways to include something of each of the items in my kit, testing out designs and styles to see what I liked.


I had some pre-prepared card bases as well as a few regular white cards and added in one small piece of pink cardstock as a mat (on the card below).


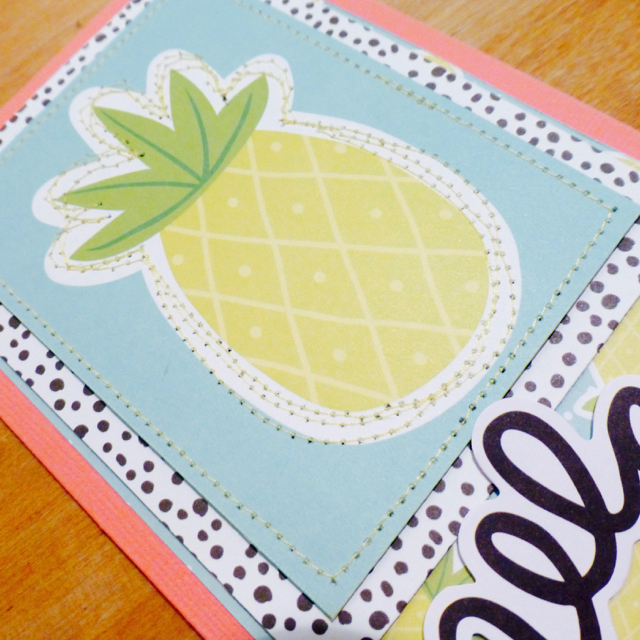
Because I always go for the simplest of designs, mostly focusing on 3x4 cards from the cut apart sheets, I went to town with the sewing machine and added stitching on several of the layers and even round the designs (speech bubble, sun and pineapple). 


Fast and simple is the way I always go with cards but overall, I'm happy with the fun elements I've added here and think that they will be a nice addition to my card stash. 


Don't miss MF Susan's beautiful mini-kit and project on the Counterfeit Kit Challenge blog today and of course, there's more fun to be had during the month!

We always love to see your work, so please share your kits and projects with us!  

You can use our Monthly Link-up page, post them in our Facebook Community, 
or share them on Instagram 
(we are @counterfeitkitchallenge and you can tag us using 
#counterfeitkitchallenge and #ckcmarch2019).


Tuesday, 6 November 2018

November 2018 - Mini kit reveal and project

I went a bit over the top and decided to make a full kit as well as a mini kit this month! Therefore, I'm back again today to show you the mini-kit and project I've started with it.

I was short of time and decided to make it super quick and simple picking out just the main colours of aqua (and other shades of blue), pink and yellow from the main inspiration kit and pulled out some products for a Project Life spread. It looks like a lot but there is one sheet of full paper plus a cut apart sheet and then just some pocket cards and a handful of embellishments. I know that I will need to add a few more bits and pieces in there but this is a great start and most of the hard work is therefore done.
 

I've had that Elle's Studio set of labels for forever so it's time to get it used up. I've also had that veneer pocket card for a long time and I thought that it combined the veneer and word elements from the original kit.


A handful of pocket cards with designs and words tie in with the original and hopefully, will be useful as fillers.


I picked out that Crate cut apart sheet some weeks ago, knowing that I wanted to use it for my month titles. It's the perfect colours.


I realised that I have just three months outstanding for 2017 in my Project Life album and had already created that month card with the events so it seemed easier to go with this month instead of the two summer months which might have matched my products better.

I'm just showcasing the first page here but I expect this month to be two or three double spreads because I was on the road over Christmas and have some memorabilia and lots of pretty photos I'd like to include.


I like the usual colour scheme for this month but decided that I will try to ensure there is lots of gold element and thread across all pages to tie it all together and give it a festive feel.


I added in a couple of extra pocket cards to back photos and the word veneer below. I wonder if I should move that veneer to the outside pocket?


Keeping it simple.

 
I'll be back on the 18th with challenge #2 using my main kit so I hope to see you there!

Don't forget that we love to see your creations and you can join in the fun over at the Counterfeit Kit Challenge Facebook Community Group or you can link up directly on the blog here using the Link-Up page. Or on Instagram (find us @counterfeitchallenge and share with #counterfeitchallenge ).

LinkWithin

Related Posts Plugin for WordPress, Blogger...